The jacket I started off with was this double-breasted jacket that was my uncles however I thought I didn’t really
want to ruin it and it would come in handy in the near future.
Double breasted jacket (from this jacket I have kind of been inspired by double-breasted aspect. I like how it looks on the body)
 So I stuck with my second option of another random jacket I found in my grandma’s garage. I think there is slightly a little more details to pockets and vents, clearly I don’t know If there is more detail in this jacket compared to my uncles double breasted one because I was not keen to pull it apart, but I’m working with what I have. I have discovered that this jacket is cheap, there is no hand stitching now taking the lining off and getting a better understanding of how many layers that are actually involved to constructing this one garment. However it is evident that there is still a fair bit of work involved for how cheap it would be (I’m comparing it to a tailored bespoke jacket that would consist of traditional techniques and methods. it is actually fascinating how machines these days can mimic techniques such as hand stitching etc. they even have tacking machines, how hard is it to tack? There is a stitch that even Mick doesn’t know what it is. Haha I did try to do a little investigation into the brand “Mac Arthur” Brisbane but failed. Must just be a little tailors shop in Brisbane.
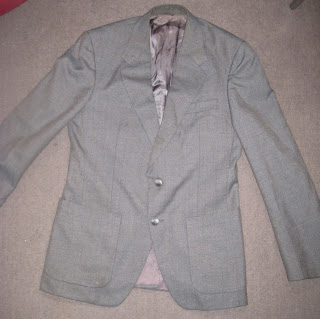
This week (week 3) we looked into pockets, the welt pocket and the jet pocket. Pockets are so important in garments today; they are one of the most practical functions that hold our important items, which replaces things like purses and bags. I like the look of the jet pocket because it looks kind of different to a normal patch pocket. To sew it wasn’t that hard but to get it to perfection it was, but it was harder compared to the welt pocket and I have to admit the jet pocket took twice as long. (Maybe because we were just cruising through it that took pretty much the whole morning, and by the time we did the welt we just wanted to go home) The one thing I did not get perfect was when we had to push the snipped triangles and sewing to just catch the corner.
welt

 jet
jet 
 Our homework was to make a variation sample of the jet pocket, emmie’s L shaped jet or the patch pocket (sewn internally therefore you cant see any stitching on the exterior)
I chose to do the patch pocket, yes it is not as creative as making your own variation, however I wanted to find out how to do it as my technical report involves investigating this technique anyway.
the thing that is different to a normal patch pocket and this method is that the seam/stitching is not visible from the outside like a normal patch pocket is sewn from the outside where it has topstitching around it.
this example is sewn from the inside which is a bit trickier because your having to keep the pocket aligned up with a template marked onto the jacket and it can get rather bulky as your trying to sew around the corners.
here are the first steps involved the pieces has a self facing which is turned back (this is called a bearer i think or maybe thats on the pocket bag) therefore no seams are seen here.


the next step is attaching the pocket piece to the jacket (here done on a sample fabric) the template acts like a guide where you postion the pocket ontop. (i dont have a photo of sewing this step sorry)

final product of the tailored patch pocket (seams internal)

No comments:
Post a Comment